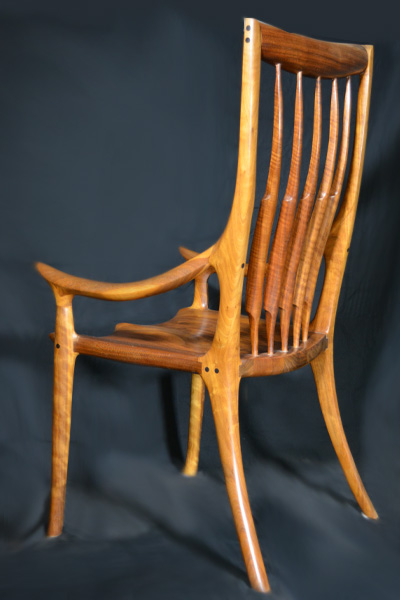
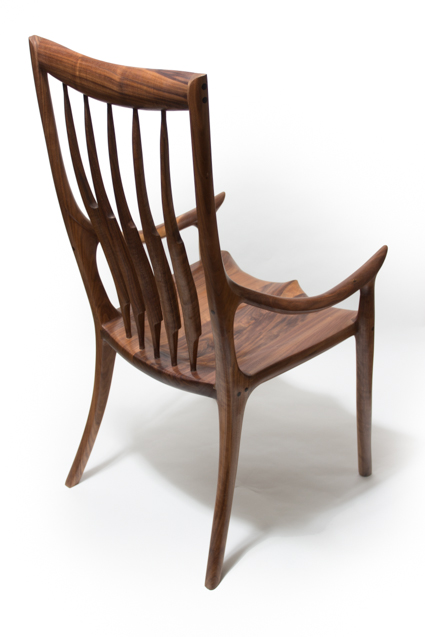
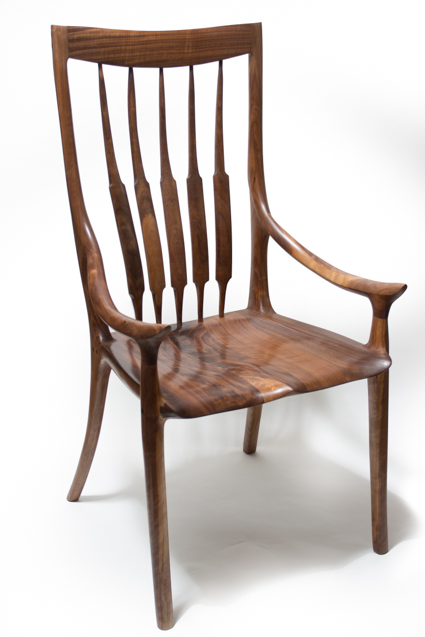
The High Back Chair is an extension of the Low Back Chair Project. It makes a great chair to go with the Low Backs as side chairs around a table and the High Backs at the end of a rectangular table. First you need to know how to build the Low Back Seat, Arms and Front Legs. Watch the complete Low Back Series. Then watch the special High Back Videos to Learn how to craft the elegant High Back Chair’s Back Legs, Spindles and Head Rest. The rocker series video on spindles will assist you with them. Place them 2.5 ” apart by making an arc that copies the arc on the back of the seat bowl placing it halfway between the seat bowl arc and the back of the seat. Watch the “Big Smile Seat” Video to make a beautiful Coopered Seat 20″x20″.
Working with Full- Size Paper Patterns
Make a set of permanent patterns from the paper patterns. Do not try to use the paper patterns on your stock. Glue (a Glue Stick is a good adhesive for this) them to whatever material you want to use realizing some patterns need to bend and some can be rigid. Leave a little margin around the black line when cutting them apart. After gluing, use a bandsaw to cut on or slightly to the black line, then sand away the black line, leaving the correct size of the pattern for tracing your parts.
To use your permanent pattern set, trace the patterns on the candidate boards. Trace around the pattern carefully with a Sharpie. When deciding suitability for chair parts, look for clarity (knots, bark inclusions, voids), grain flow, and color. Each factor should weigh into the pattern placement decision. If you have doubts concerning an overall part measurement, trust the pattern size. Use the video instructions to lay out joint measurements.
Wood Choices
American hardwoods are best. I like Walnut, Maple and Cherry. Oak is too stringy for this project. Some exotics are good, especially Rosewood and Bocote’. Requires approximately 35 board feet
Buillder’s Notes:
- I prefer to make the seat 20×20” instead of the 22” deep by 20” wide seat given in the original video. The Low Back offers two seat choices: The Original Coopered Seat or The Big Smile Seat (BSS). The BSS will teach you to make a generic coopered seat that is deeper than the original. Note: Making the BSS 20″deep for the low back requires changing the dimension for laying out the back of the dado (or front leg notch) on seat boards 1 and 5. Measuring from the back of the board, subtract two inches from the measurement provided for the 22″ seat board. It should be 16″ instead of 18″.
- Because of this sculptural project’s nature, a cut list is not practical. If possible, lay the patterns on the candidate stock to check not only size but also color and especially grain patterns to validate the stock’s usefulness.
- The full-size paper patterns we are shipping to you make a 20” deep seat. Do not make the 22” seat. Patterns will yield parts that provide ample stock to cut and fit joints, and shape the chair.
Videos – All of the Videos for this Project are Streaming for FREE on YouTube at Charlesbrock the Rocknchairman. Go to Playlist on the Channel and find the entire Project Video Series. Watch all of the project’s videos and decide if you want to build it, then purchase the full-size paper patterns from this webpage. I will ship them to you with FREE shipping in the USA and at my cost internationally.
Low Back Chair Book – Online under Companion Books. Do not use seat dimensions!
These videos and the full-size patterns provide everything you need to complete your sculptured high-back dining chair.
Please!
NEVER TEACH OTHERS FROM MY VIDEOS OR PATTERNS. YOU WILL BE IN VIOLATION OF COPYRIGHT LAWS AND SUBJECT TO PENALTY.
CHARLES BROCK