
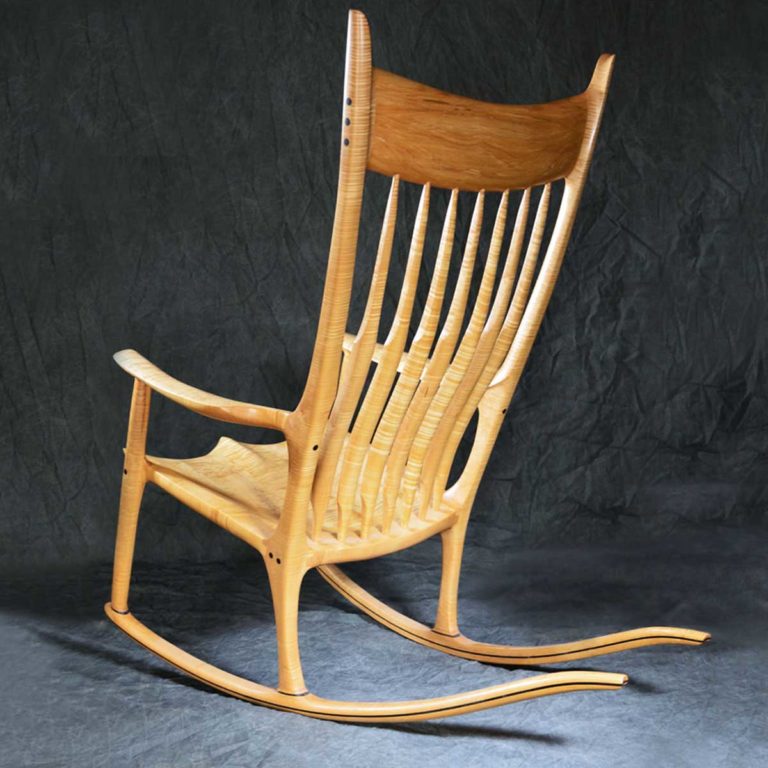
Building a sculptured rocker has been on fine woodworkers’ bucket lists since they first saw one. Charles Brock has taught thousands of woodworkers to build this rocker through his videos and classes. The sculptured rocker is the height of form and function in sculpted seating. Its hard and soft lines with numerous s-curves give it an unequaled organic look, one that also looks as if it were moving, even when sitting still. Charles’ teaching and passion for building this chair will inspire you to extend your woodworking journey to greater heights of achievement. Just slide down into the generously Coopered Seat (Big Smile Seat Video) and you can comfortably sit for conversation, reading or just daydreaming or just rocking.
Video Instruction
The entire Rocker Video Series is on my YouTube Channel, Charles Brock the Rocknchairman for you to learn to build this project. It is very comprehensive. Between the patterns and the video instruction you should be able to build this project. It will take time, patience and figuring many things out to suit your interpretation of my instruction. You must adapt this instruction to your shop’s resources and your knowledge.
Book
The book is based on the original rocker video published in 2009. You can find it on my website under Companion Books. Do not use any measurements from the book unless they are in alignment with the videos. The Appendix measurements for the 8 degree jig may be helpful. https://charlesbrockchairmaker.com/project-companion-books/
Getting Started:
Tools – You will see the tools I use on the video but they are not the only choices. On my website at https://charlesbrockchairmaker.com/rocker-tool-list-revised-february-2022/ you will find a tool list.
Wood Choices – Hardwoods are required for this project. Domestic Walnut, Maple, Cherry are best because they can take the carving and stress. This project is not about the wood, it about the chair’s lines.
Seat Choice – You should make the “Big Smile Seat” That video along with the original seat video are both on the channel. Either will use these seat board measurements Using the Full-Size Paper Patterns. Make a set of permanent patterns from the paper. Do not try to use the paper patterns on your stock. Glue (Glue Stick is Good) them to whatever material you want to use realizing some need to be flexible and some rigid. Leave a little margin around the black line. Using a bandsaw cut on or slightly to the black line, then sand away the blackline leaving the size of the pattern part.
Using your permanent pattern set, trace the patterns on the candidate boards. Look for clarity (knots, bark inclusions, voids), flow of the grain and color, when deciding suitability for chair parts.
Prepare Your Stock
Below are appropriate dimensions: (All edges and surfaces jointed and ends square unless otherwise noted!) Approximately 50 Board Feet of Stock Necessary2 Adder Blocks @ 7/8 x 3 x 5″
5 Seat Boards @ 1 3/4 x 4 1/4 x 21″
2 Arms @ 1 7/8 to 10/4 Thick x 5 1/4 x 20″
1 Headrest @ 1 7/8 to 10/4 thick x 7 x 23″
2 Back Legs @ 1 3/4 x 5 3/4 x 48″ Edges not jointed and ends not perfectly square
2 Front Legs @ 1 7/8″ Thick x 2 13/16 x 19 1/2″ Leave one edge unjointed.
Spindle Board Stock 1 1/2″ thick x wide enough to yield 7 – 30 long spindles drawn
nested on their sides using the pattern for layout. Make sure the boards are face jointed
and planed to thickness.
Transition Blocks Cut 20 @1/8″ laminations from 1 1/2 x 6 x 6″ board
Rocker Sled Laminations Cut 18 @1/8 x 6 x 50″
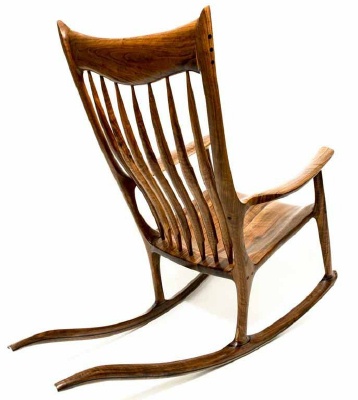
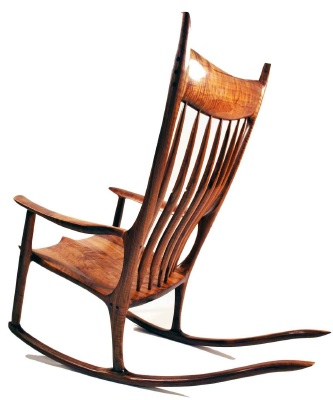
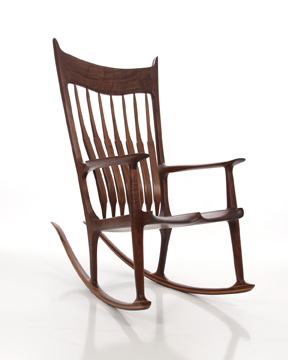
Please!
NEVER TEACH OTHERS FROM MY VIDEOS OR PATTERNS. YOU WILL BE IN VIOLATION OF COPYRIGHT LAWS AND SUBJECT TO PENALTY.
CHARLES BROCK