
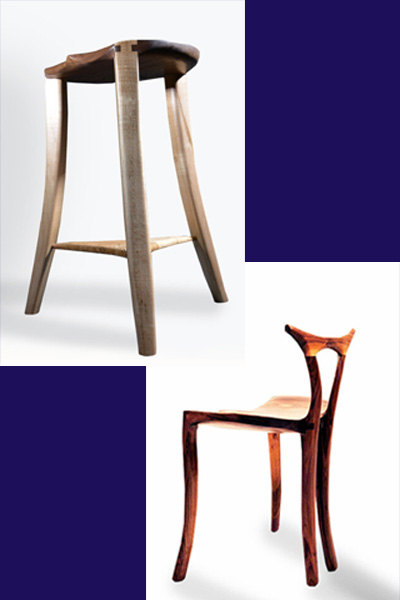
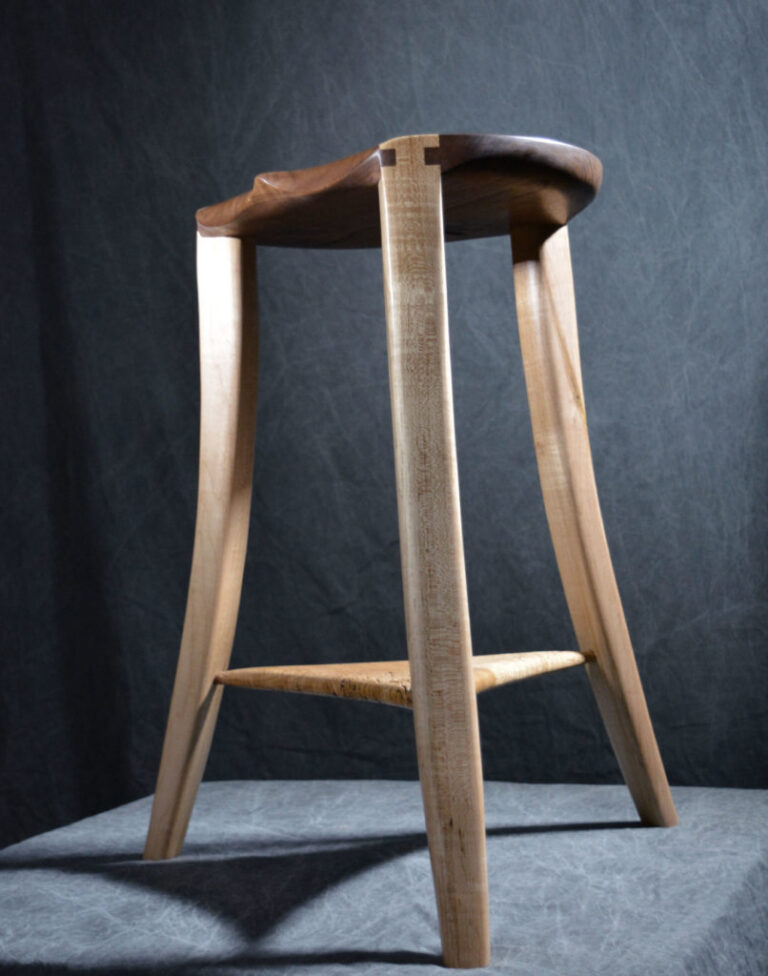
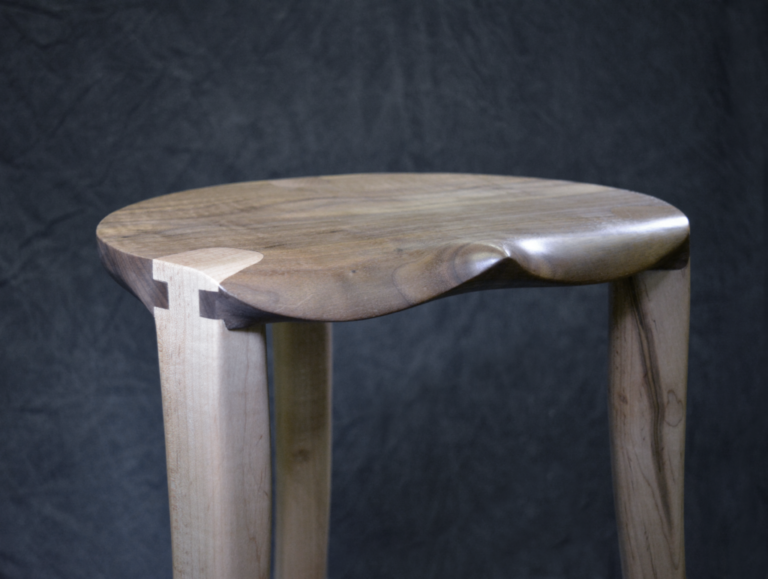
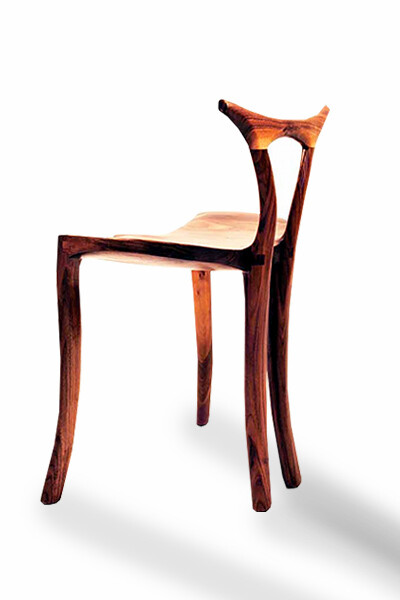
The Island Stool is not only perfect for sitting at around a kitchen Island, it is a piece of furniture that will excite the viewer with its form and function. Every part melts into the next, giving it a flowing organic quality. It has beautifully flowing tapered legs, a sculptured saddle and a unique triangular shaped stretcher that also gives the sitter a place to rest their feet. It is reinforced with an invisible triangular spline to give all three sections of the stretcher assembly strength.
All of the videos for this project are streaming for free on YouTube at Charlesbrock the Rocknchairman. Go to the Playlist on the Channel and find the entire Project Video Series. Watch all of the project’s videos and decide if you want to build it, then purchase the full-size paper patterns from this webpage. I will ship them to you with free shipping in the USA and only charge you my cost for an international shipment.
Getting Started:
Videos
Watch the Island Stool Video Series from beginning to end. If you desire to build the project order the full-size patterns from this website.
Quick Start Guide:
Working with Full- Size Paper Patterns
- Make a set of permanent patterns from the paper patterns. Do not try to use the paper patterns on your stock. Glue (a Glue Stick is a good adhesive for this) them to whatever material you want to use realizing some patterns need to bend and some can be rigid. Leave a little margin around the black line when cutting them apart. After gluing, use a bandsaw to cut on or slightly to the black line, then sand away the black line, leaving the correct size of the pattern for tracing your parts.
- To use your permanent pattern set, trace the patterns on the candidate boards. Trace around the pattern carefully with a Sharpie. When deciding suitability for stool parts, look for clarity (knots, bark inclusions, voids), grain flow, and color. Each factor should weigh into the pattern placement decision. If you have doubts concerning an overall part measurement, trust the pattern size. Use the video instructions to lay out joint measurements.
Wood Choices
American hardwoods are best. I like Walnut, Maple and Cherry. Oak is too stringy for this project. Some exotics are good, especially Rosewood and Bocote’.
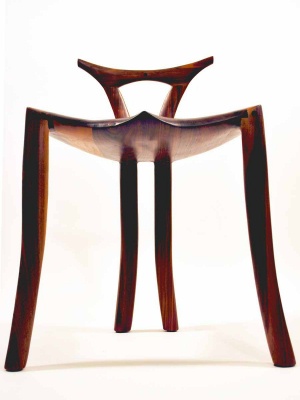
The Bowtie Stool is an elegant contemporary sculptured stool (17″ to the top of the seat) that will add interest and functional seating to any room. My original thoughts were to design an easy sculptural project to serve as a gateway for woodworkers desiring to try their skills at sculptured seating before moving on to more demanding projects. I failed! This is a project that will be a test but well worth the effort. It is not a project for a beginner. The Island Stool is the project for someone new to Sculptured Furniture.
IMPORTANT NOTE! The BowTie Stool Project Started out as an eBook. It had text and video links for many parts of the crafting process. The Text can be found on my website under Companion Books (on the Main Menu). Read the text then go to the YouTube Channel to watch the corresponding video. https://charlesbrockchairmaker.com/project-companion-books/
Video Instruction
Between the patterns and the video instruction you should be able to build this project. It will take time, patience and figuring many things out to suit your interpretation of my instruction. You must adapt this instruction to your shop’s resources and your knowledge.
Getting Started:
Tools – You will see the tools I use on the video but they are not the only choices. On my website at https://charlesbrockchairmaker.com/rocker-tool-list-revised-february-2022/ you will find a tool list.
Wood Choices – Hardwoods are required for this project. Domestic Walnut, Maple, Cherry are best because they can take the carving and stress. This project is not about the wood, it is about the lines.
Using the Full-Size Paper Patterns
Make a set of permanent patterns from the paper. Do not try to use the paper patterns on your stock. Glue (Glue Stick is Good) them to whatever material you want to use realizing some need to be flexible and some rigid. Leave a little margin around the black line. Using a bandsaw cut on or slightly to the black line, then sand away the blackline leaving the size of the pattern part.
Using your permanent pattern set, trace the patterns on the candidate boards. Look for clarity (knots, bark inclusions, voids), flow of the grain and color, when deciding suitability for chair parts.
Please!
NEVER TEACH OTHERS FROM MY VIDEOS OR PATTERNS. YOU WILL BE IN VIOLATION OF COPYRIGHT LAWS AND SUBJECT TO PENALTY.
CHARLES BROCK